Do you want to create a chess board using HTML and CSS? It is easier than you think. Follow this simple guide, and you will have your chess board in no time.
What You Need
- A text editor (like Notepad or VSCode)
- A web browser (like Chrome or Firefox)
Step 1: Basic HTML Structure
First, we need to write the basic HTML. Open your text editor and create a new file. Name it index.html. Write the following code:
html


Chess Board
This code creates the basic structure of our web page. We also link to a CSS file called style.css.
Step 2: CSS for Chess Board
Next, we need to style our chess board. Create a new file in your text editor. Name it style.css. Write the following code:
#chessboard {
    display: grid;
    grid-template-columns: repeat(8, 50px);
    grid-template-rows: repeat(8, 50px);
    gap: 0;
}
#chessboard div {
    width: 50px;
    height: 50px;
}
#chessboard .white {
    background-color: white;
}
#chessboard .black {
    background-color: black;
}
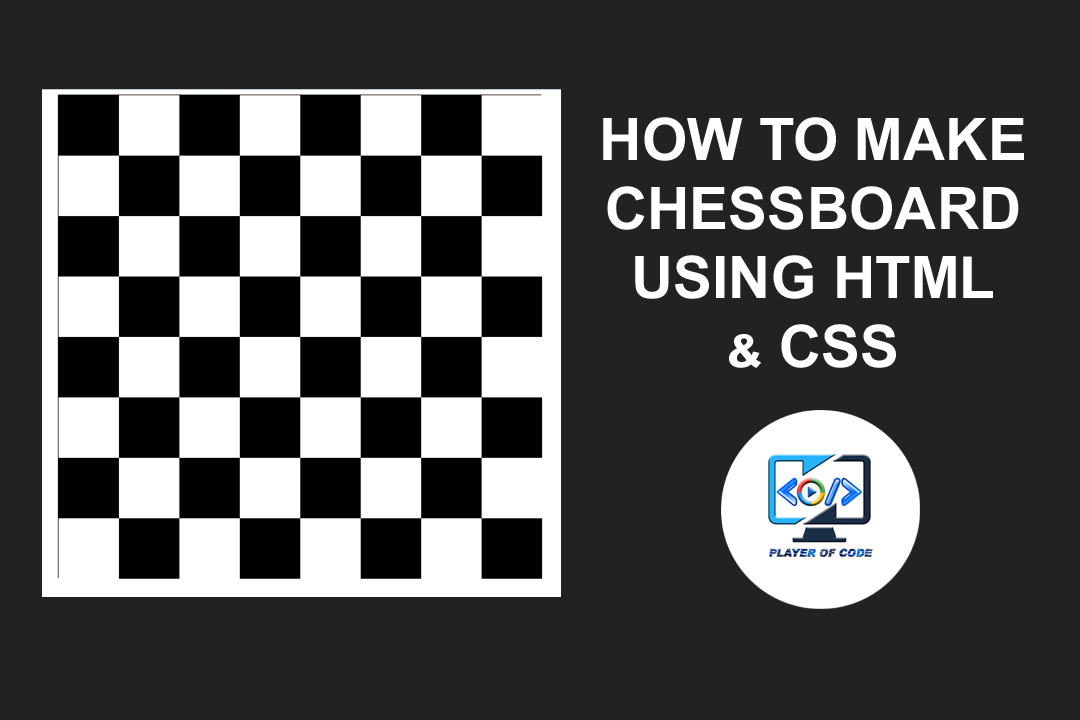
This code creates an 8×8 grid for our chess board. Each square is 50px by 50px. We also define two classes for the squares: white and black.
Credit: playerofcode.in

Credit: stackoverflow.com
Step 3: Adding the Squares
Now, we need to add the squares to our chess board. Go back to your index.html file. Add the following code inside the tags:
This code adds the squares to our chess board. We alternate between white and black classes to create the pattern.
Step 4: Viewing the Chess Board
Save both files. Open the index.html file in your web browser. You should see a chess board with an 8×8 grid of black and white squares.
Conclusion
Congratulations! You have created a chess board using HTML and CSS. You can now play with the design. Try changing the colors or the size of the squares. Have fun coding!
chessmantras.com is a participant in the Amazon Services LLC Associates Program, an affiliate advertising program. As an Amazon Associate, we earn from qualifying purchases made through our links.